The switches by which you activate a light are crucial pieces of equipment. Whether you choose to use the onboard tail cap or a pressure pad/switch, it’s critical to be able to simply activate your light when you need it.
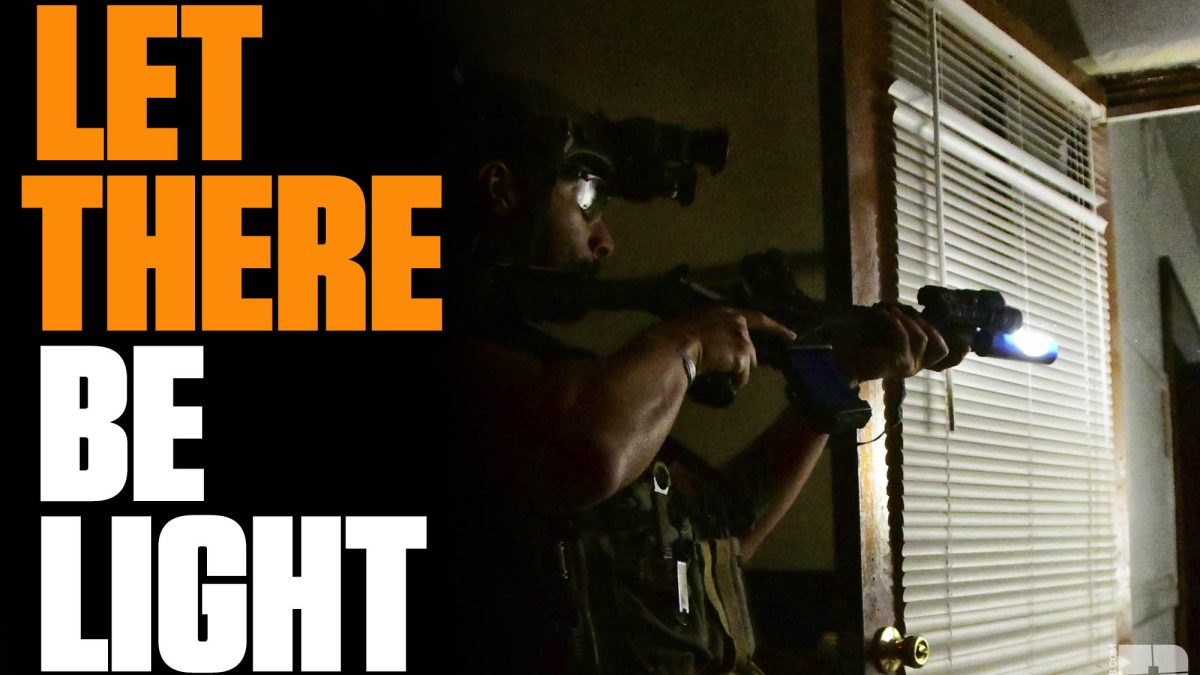
First, let’s begin with why it’s important to have a light on a rifle. Light provides us with data collection, communication, and control. For example, collecting data includes positively identifying a target and assessing a suspect’s hands or demeanor to make the wisest decision based on the circumstances and environment.
Communicating with light is more than signaling for help. For example, if you’re pointing light at a door, window, hallway, or anything, without saying anything, your partner will probably join you and look at the same thing. That’s just one example of communicating with light.
Last is control, the magical art of shining light in someone’s face causing them to see nothing but light and/or the back of their eyelids. When the photoreceptors in your eyes get overloaded, there’s a natural reaction for your eyes to constrict and your lids to close.
Some even look away and block light with their hands. At that point, you can see the potential threat, make better decisions based on the data, and now control their vision. This works with powerful lights with good candela, so don’t skimp on a light. Now let’s talk about setting yourself up for success.
ERGONOMICS
When setting up a rifle, we want everything to be natural and easy. You don’t want to stretch too far to get a grip or make harsh rotations that are uncomfortable to reach your tools. You want it to be ergonomic, comfortable, and easily accessible. Due to the amount of variation in the world of firearms as well as humans, you’ll have to adjust, experiment, and probably swap things around to find your “just right” solution.
Some things to keep in mind when narrowing in on your solution is to be open-minded, plus make sure it works for right- and lefthanded activation, for the ways you plan to use the setup, and for your expected environments. You never know what will work well until you try it. You can also look at examples (like in this article) or try different setups in classes. This’ll give you ideas and possible solutions for the lights, lasers, and switches you plan to use.
RIFLE LIGHT OPTIONS
Weapon-mounted lights are the most popular for rifles and are a must-have. There are many ways that you can mount a light on your rifle. A few factors to consider include: What kind of light are you using? Where do you want to mount it? Do you want a tail cap, pressure pad, or both? Also, what additional accessories will you be adding, such as lasers, sights, muzzle devices, and rail covers?
When selecting your rifle light, choose wisely. I prefer high candela lights like Modlite and Cloud Defensive over the rest but that’s my preference.
Choose what best suits your needs, or perhaps you need to use what you’re issued. To narrow down your choices, look at these criteria. First, what’s its output? Does it give you what you need and want? I personally look for high candela and decent lumen output.
Secondly, look for a light that allows you a few options for activating it, with momentary and constant-on options.
Third, select a light that allows multiple mounting options to give you options for where to place it and accessories around it.
Next, you need to figure out how you want to activate it. Are you trying to keep it very simple and use a simple tail cap switch or do you want a separate or more advanced switch? Three different options currently exist for activating a light. The first is very simple — a tail cap button.
Most lights come with one; if depressed lightly, it offers momentary light, and if pushed hard, it usually clicks and stays on.
Second is a remote switch/ pressure pad. These usually attach via a different tail cap with a wire that routes from the back of the light to a switch that attaches to a convenient spot on your handguard.
Third is an integral switch, buttons that are already on the body of the light for a standalone solution. Either way, the choice is yours.
LIGHT PLACEMENT
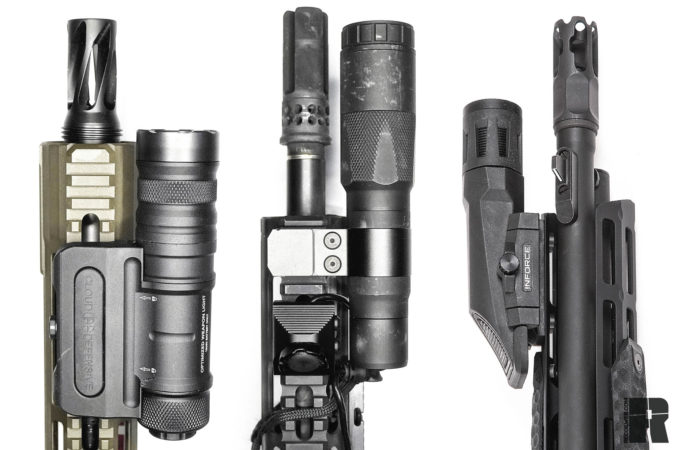
Where you mount a light is another critical consideration. If you place it on your rail, make sure you can activate the light ambidextrously and from different body positions. You may also need to consider the placement of your laser, if you’re using one.
To determine a good spot to place your light, first look at the way you hold the rifle with nothing attached. Where your hands naturally land on it are good places to put your switches. Then, mount your light somewhere ahead of that.
There are a wide variety of different mounts to put your light almost exactly where you want it. Try placing it as far forward as you can without interfering with your suppressor or muzzle device. This helps keep it out of the way of your support hand grip and helps avoid funky shadows and splash off the front of your rifle that may obscure your data collection.
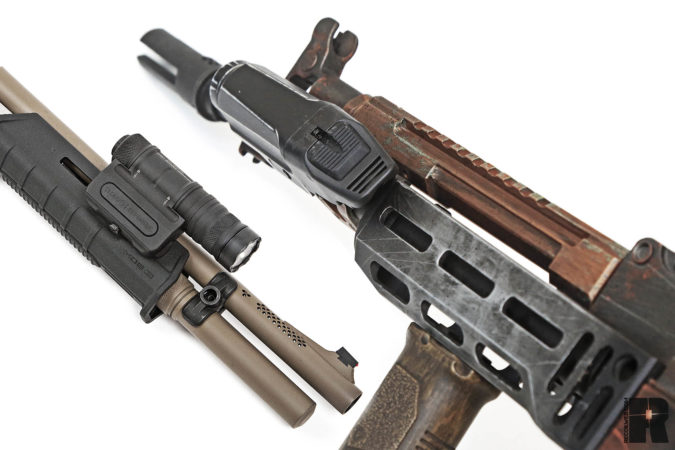
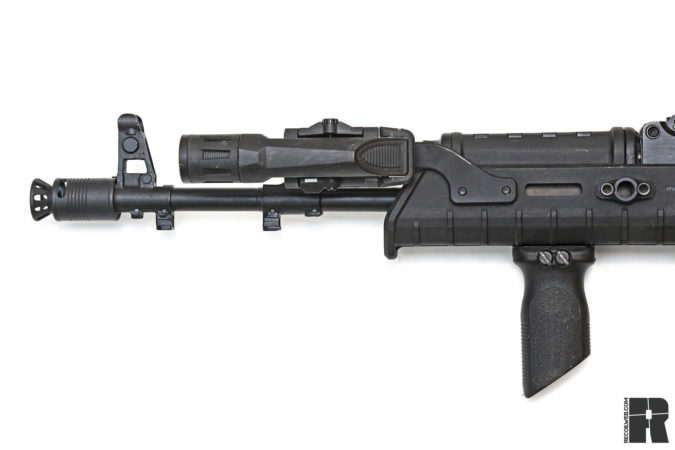
Lastly, I prefer to mount lights around the Northern hemisphere of my rail, at 9, 10, 11, 12, 1, 2, or 3 o’clock on the rail. Not that it’s wrong to mount it lower, but this can have adverse effects on your ability to grip the rifle.
Light placement considerations for non-standard firearms are very specific to the available mounting surfaces, but the same guidelines still apply.
LASER INTEGRATION
If you’re into or preparing for the night vision game, this section is for you. When integrating a laser, you need to carefully think through your configuration.
Depending on your choice of laser, you’ll need to fit your light around it. Most lasers are meant to be mounted as forward as possible and at the top rail (12 o’clock). This allows the laser to optimally project forward without bouncing off a switch, sight, hand, or rail. It also makes it convenient to use the on-board buttons as your primary switch, or as a secondary if you want to use a remote switch. Lastly, it’ll be in a good position for mode changes.
Follow the same considerations for positioning your laser’s switch, depending on how you mount it, as for your light.
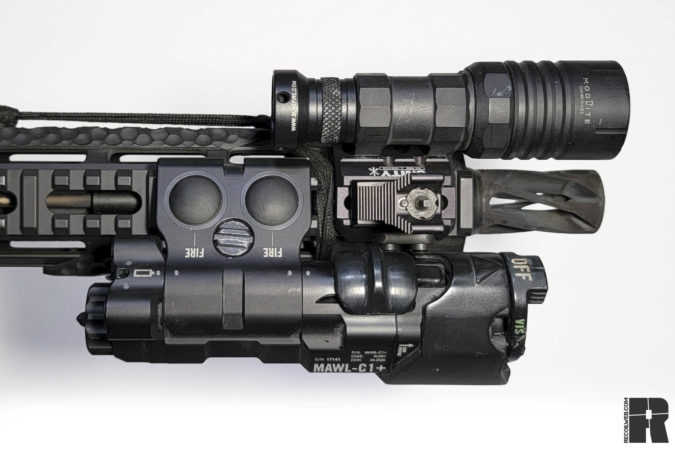
All of us have different hands, strength, rifles, handguards, abilities, and so many other factors. So, the art of button stacking has to work specifically for you. Some of the ways people do this is with two Modlite Mod buttons, a Mod and Unity Hot button, or an integrated button and Mod/Hot button. All of this depends on your chosen light or laser.
Dual switches are a simple solution but can lack the ergonomics that some need due to the rail space available or their chosen setup. SureFire’s dual switch and the Unity TAPS are the dual setups that play in the realm.
The SureFire dual switch has one pressure pad for your light and one for your laser. The Unity TAPS features several different configurations. It can be mounted to Picatinny, M-LOK, and KeyMod. It also has different button layouts to fit your needs.
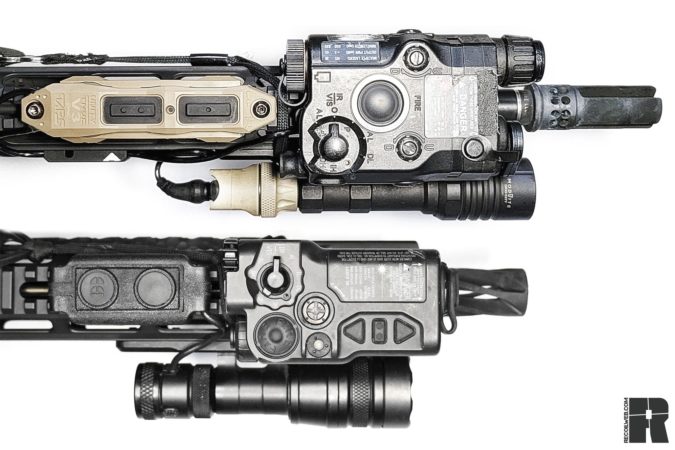
Last is the use of integrated buttons. This results in a clean setup with no wires, but often presents other issues. If your laser is a box style, this method usually works well for those with larger hands. The MAWL works well for most hand sizes. Y
ou also usually end up with your light and your laser on opposite sides of the rail, not a huge deal but a consideration.
CONCLUSION
Overall selection, placement, and use of your light is a personal decision. You should seek some professional instruction and learn what right and wrong look like, so you can make an even more educated decision on what you need.
You should also add some low-light dry practice into your routine — most people practice this even less than support hand shooting. Lastly, keep on learning. We can all continue being students and adapting to our ever-changing environment, always doing better.
MORE ABOUT LIGHTS
Read the full article here

