
Photos by David Patrushev
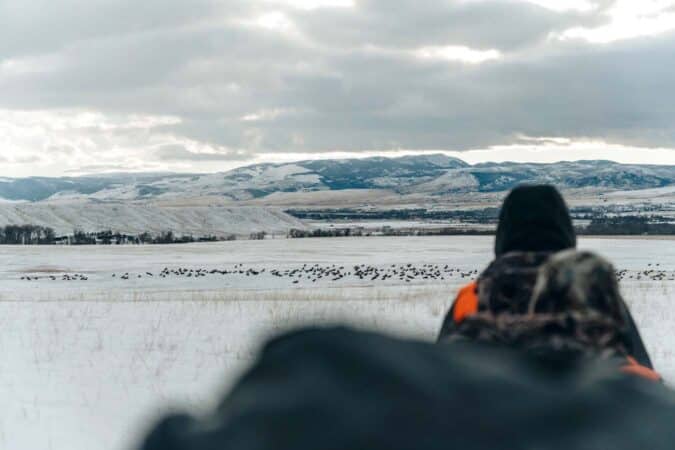
We crept into position along a fence line, using what little cover was available to break up the outlines of our group. Ray, a guide on the Jumping Horse Ranch near Ennis, Montana, motioned to use the structure on the near side of a cattle guard as an improvised bench while we watched the elk herd below us unconcernedly mill around.
Lasing a bull at 420 yards as he chewed the cud, we waited for him to stand up and offer a clear shot. With this many animals in the herd, there was a real chance of a pass-through hitting a second elk, and we didn’t want to risk that eventuality — the other problem, that of a hundred sets of eyes scanning for danger, didn’t help either. He finally stood up, I flicked off the safety on the TriggerTech trigger and loaded about 2 pounds of pressure onto the blade …
Until the advent of actions that could hold consistent, tiny tolerances, building your own bolt action rifle meant not only acquiring the necessary parts, but learning how to run a lathe also. If you weren’t prepared to put in the weeks required to achieve competence, then finding a good gunsmith was your only option — you’d pay either with time or money.
Now, there are a wealth of manufacturers making receivers so accurately that off-the-shelf barrels can be spun up and guaranteed to headspace correctly. If you’ve ever assembled an AR-15, you already have the required skills, as an AR is a vastly more complicated mechanism. This was brought home on a recent visit to Aero Precision, one of the largest makers of AR-15 parts, who recently got into the bolt gun world. We took the opportunity to build a rifle for an upcoming elk hunt, starting with springs and pins, and if we can do it, anyone can.
Build Sheet
Just as you wouldn’t attempt a brake job on your daily driver with nothing more than a pair of pliers, so it is with bolt guns.
Thankfully, your tool list isn’t all that long and you probably already have a few of them, but the specialized items include a barrel and action vise (or wrench) and a set of headspace gauges, all of which can be had for less than 500 bucks. Yes, it’s not an inconsequential outlay, but once you have them, they’re good for life and you can always find a willing buyer if you only want to build one rifle.
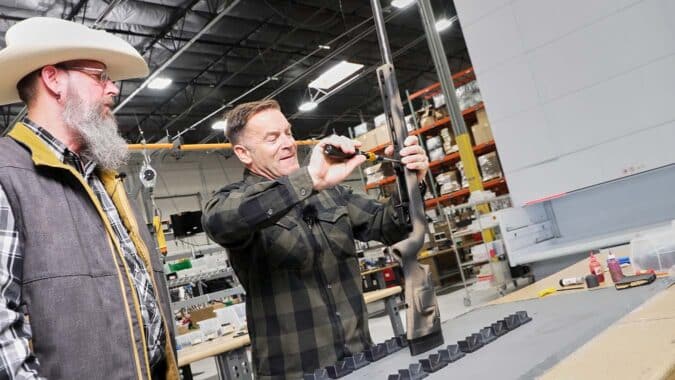
Under the expert tutelage of Doug at Aero, we got to assemble some parts, such as the bolt stop and firing pin assembly, which will already be installed if you buy an action. But it’s good to have that level of confidence in your own expertise, so we weren’t complaining.
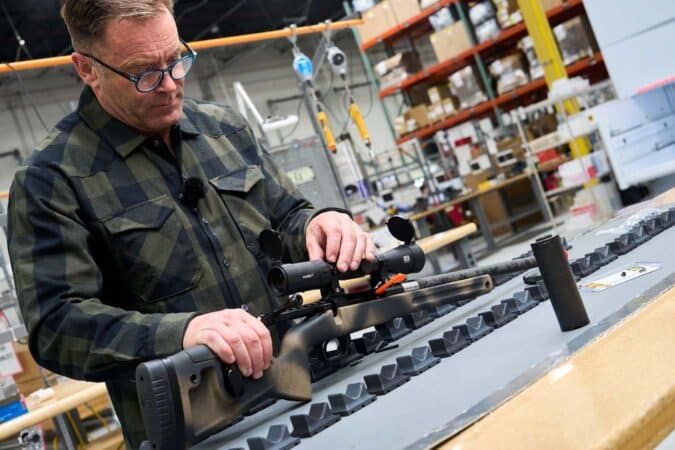
Perhaps the most important task is ensuring correct chambering and headspace, and it’s here that skill with a lathe would normally come into play. Instead, using a piece of drywall tape to create more friction around the barrel, it was secured in a barrel vise and the action threaded up to it. A torque wrench was attached to an action vise and everything tightened up to the required setting before being checked with go/no-go gauges. Once that was out of the way, the rest of the components fell into place: trigger in its hanger, action into stock, action screws torqued to spec and EOTech Vudu 2-12 optic installed.
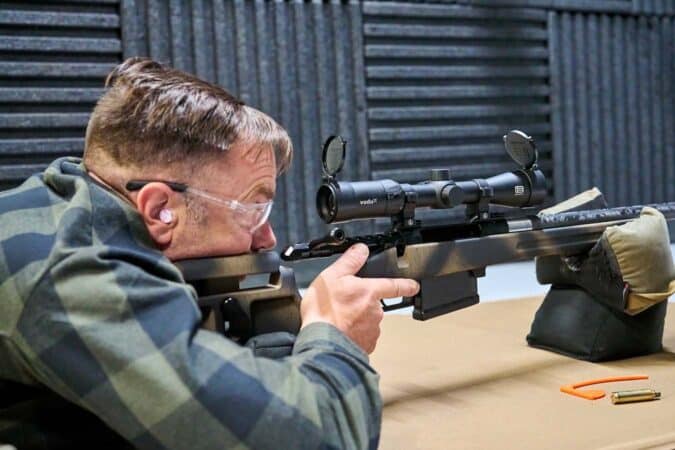
Aero has its own 100-yard indoor range, so the opportunity to check our new build was too much to pass up. Shooting off bags in the prone position, the first group came in right around 1 MOA, with the second a hair larger. Switching ammo brands resulted in a 0.23-inch group. Not bad for a new gun so fresh it didn’t even have a box to be pulled from.
FIELD TEST
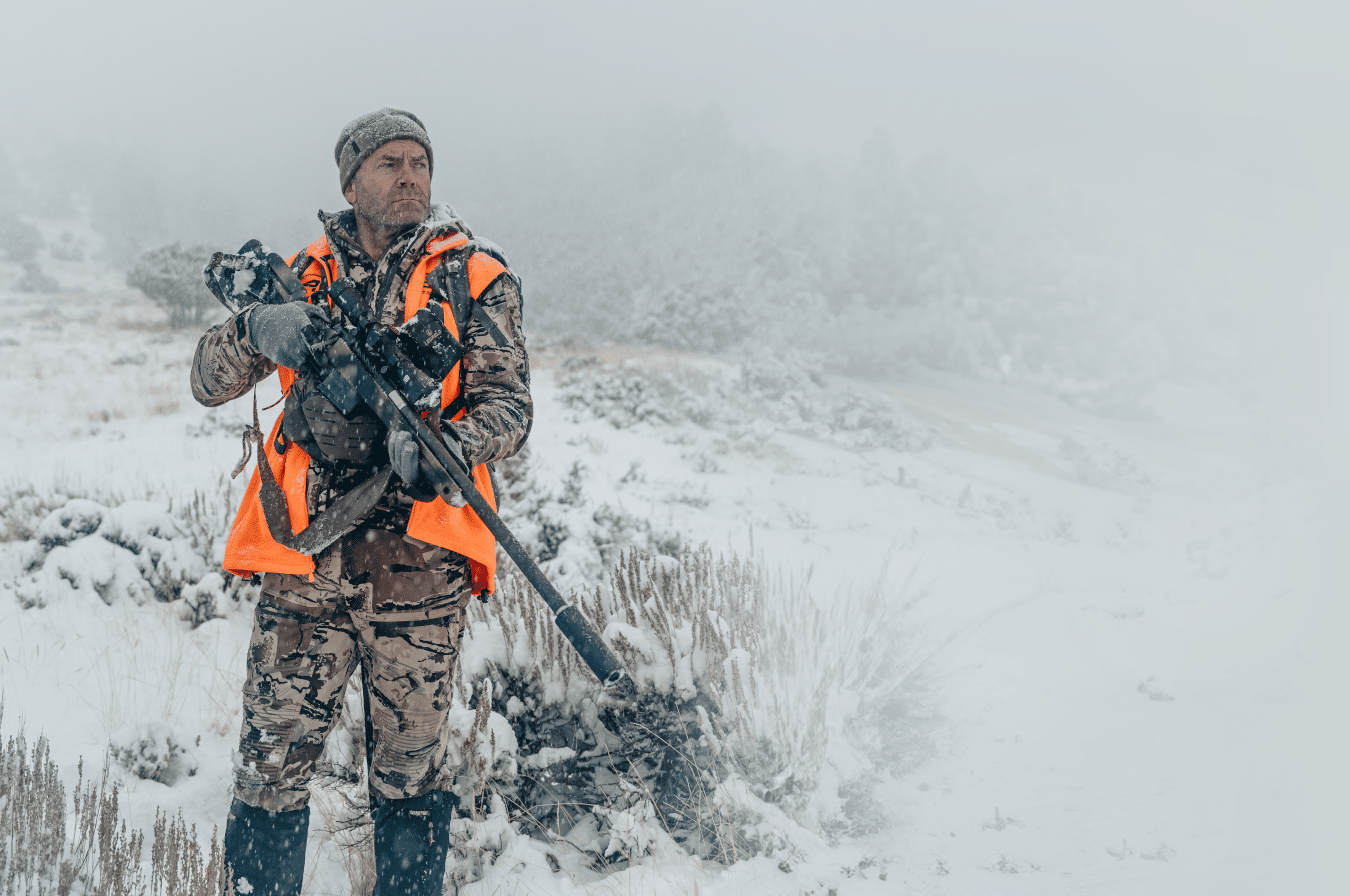
As pressure on the trigger built, a shot rang out from the opposite side of the pasture. Another member of our hunting party had let loose, and the herd took off, leaving a fallen comrade behind. Seeing the elk exit stage left, we anticipated they might swing around our position, so we sprinted to an irrigation pivot behind us to use a tire as both a rest and cover.
Breathing heavily, we watched as the herd milled around between 450 and 600 yards from where we were braced against the rubber. It was then that we noticed a bull at the back of the group was slower than the rest, its left foreleg flapping uselessly as it hobbled along. Evidently, a neighbor had taken a poke at it an hour ago a couple of miles away, and it sought the comparative safety of the group we were chasing. It was obvious that the original bull we were after was now no longer the priority target. This one would need to be dispatched.
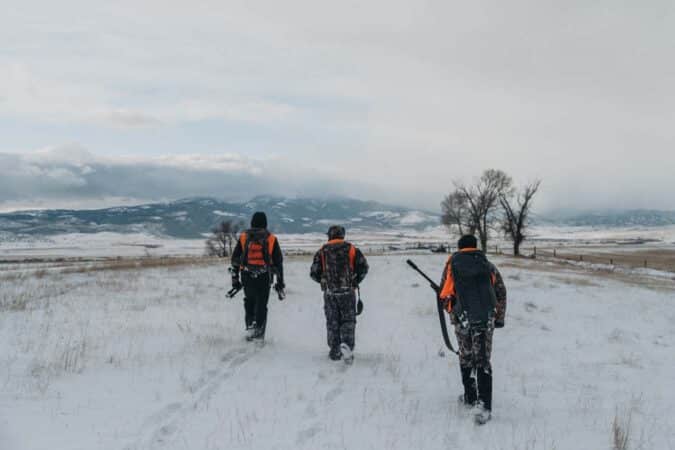
We slowly backed out of position and high-tailed it back to the truck. The tires struggled for grip on the snowy ranch roads as we swung wide to get in front of the herd, seeing a hill behind them that’d give us cover for an approach. After about two miles, we silently closed the truck doors and shuffled across an open field to the ridgeline we’d use for cover, then dropped to our bellies for the last 25 yards or so. As I crawled closer, I mentally went through the ballistic table prepared earlier. The Vudu featured a reticle with 1 MOA circles below the center crosshair, spaced 2-MOA apart. With a 150-yard zero, these lined up with 250, 350, 450, and 500 yards, or as close as made no difference when dialed to maximum magnification. “You see him?” whispered Ray. “350.”

Already set up on my Javelin bipod, the sight picture was steady as a rock and the second circle covered the vital area. I replied, “Yep, got him. Firing now.” The 175-grain ELD-X bullet shredded both lungs, and the bull dropped where he stood.
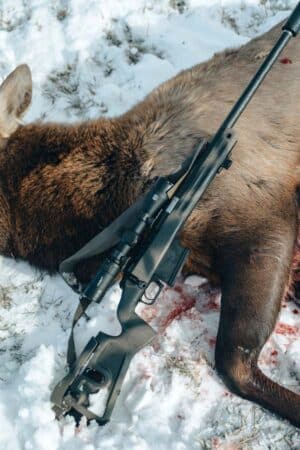
Putting meat on the table in front of family and friends is satisfying. Doing it with a rifle you built yourself adds another dimension to the experience and is well within the reach of the average gun guy. With off-the-shelf actions and prefit barrels readily available, the only difficulty is picking the best caliber for your application.
Read the full article here